
Cliff jumping travel safety starts with one honest idea, most accidents happen when people copy what they saw online without understanding the spot, the water, or their own limits.
If you travel for beaches, lakes, and adrenaline, cliff jumping can feel like the “must-do” moment, but it also stacks risks quickly, unknown depth, hidden rocks, currents, slippery takeoffs, and pressure from friends or strangers cheering you on.
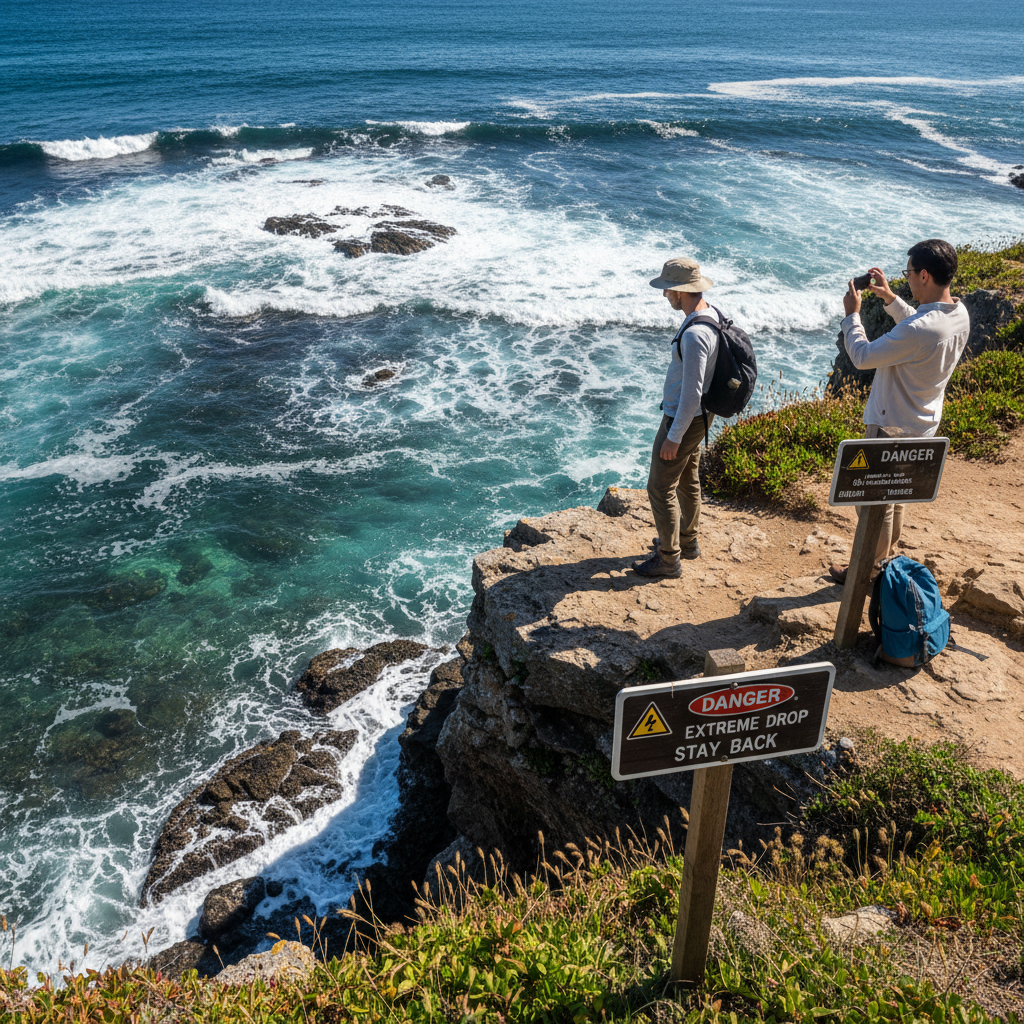
This guide stays practical, how to judge a spot fast, when to walk away, what to ask locals, and how to reduce injury risk if you still decide to jump. No hype, just a traveler-friendly checklist you can use on the ground.
Why cliff jumping gets risky for tourists (even strong swimmers)
In a familiar home spot, people build “local knowledge” over time, where the deep channel sits, which ledges stay slick, how tides change, who patrols, where injuries happened. Tourists rarely have that.
- Unknown water depth and bottom shape: Depth can change by season, tide, storms, or dam releases, and clear water can still hide rocks.
- Currents and exit difficulty: A safe jump can turn unsafe if you cannot get out, especially with surf, boat traffic, or algae-coated ladders.
- Impact injuries: Even “clean” water hits hard, poor posture or a small rotation can cause rib, spine, or head trauma.
- Pressure and timing: Crowds create urgency, people jump before checking, or they jump again when tired.
- Alcohol and dehydration: Vacation routines often include both, and that combination tends to worsen judgment.
According to the American Red Cross, open water swimming comes with hazards like changing conditions and limited immediate help, which is exactly the environment cliff jumping happens in.
A quick self-check: should you even consider jumping today?
Before you debate the perfect technique, decide if today is a “hard no.” These questions sound basic, but they catch most bad setups.
Green-light indicators (still not a guarantee)
- Several experienced locals confirm the spot is commonly used and explain what to watch for.
- You can clearly identify a deep landing zone and a safe swim-out route.
- Water is calm enough that you can hold position and orient yourself after entry.
- You feel rested, sober, and not rushed, and you can say no without drama.
Red flags that should end the plan
- You cannot see the bottom and nobody credible can confirm depth.
- Strong waves, fast river flow, or you notice people getting pushed off line.
- Slippery takeoff with no stable stance, especially in flip-flops.
- Any head/neck injury history, back pain flare, or you feel “off” today.
- It’s banned, posted with warnings, or you see prior impact marks and broken branches near the entry.
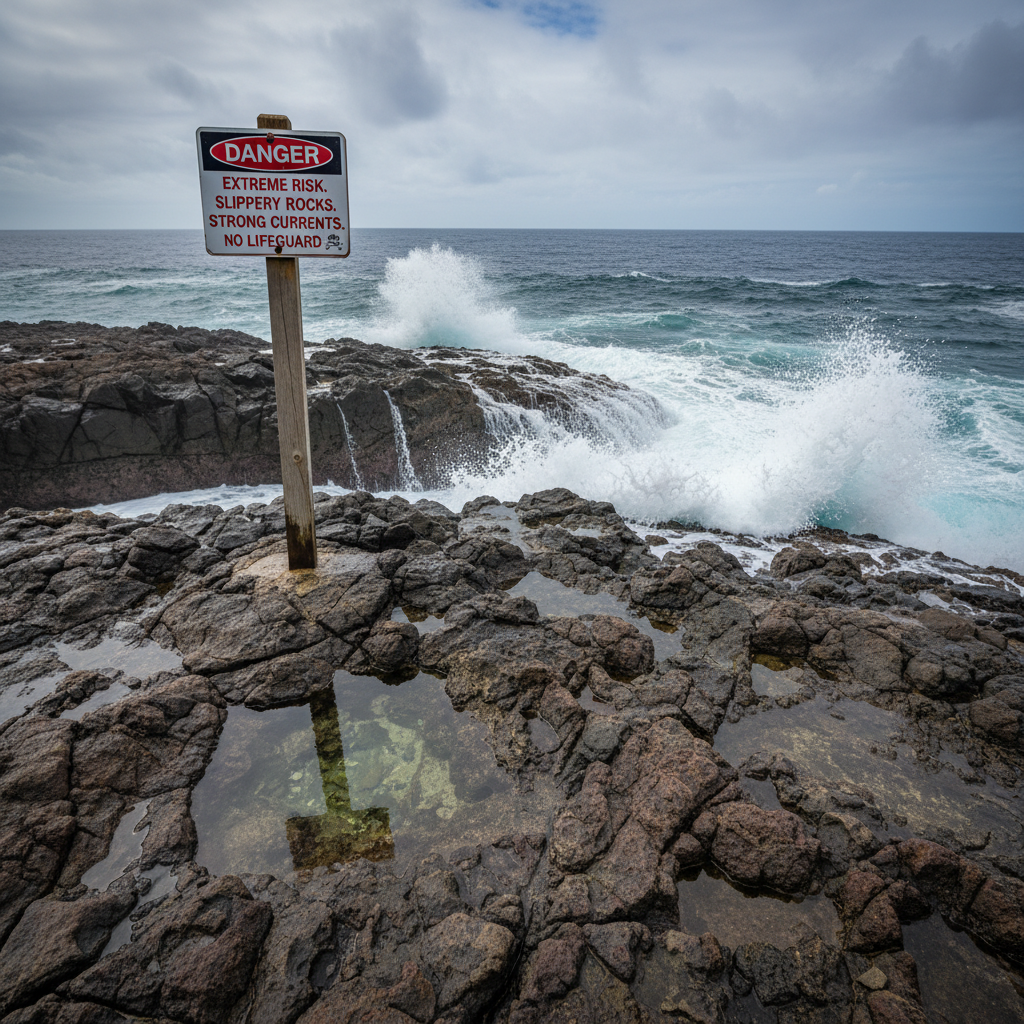
How to assess a cliff jumping spot in 10 minutes (tourist-friendly)
Cliff jumping travel safety is mostly spot assessment. Technique matters, but location mistakes are what travelers can’t “muscle through.” If you only do one thing, do this.
1) Confirm depth and obstacles the boring way
- Ask two separate local sources, lifeguards, guides, boat operators, or longtime residents, not just another tourist.
- Look for visual cues, darker water often indicates depth, but glare and sand color can trick you.
- If allowed and safe, observe someone experienced jump once, then watch where they surface and how they swim out.
- Never assume a spot is safe because “people are doing it.” Crowds normalize bad decisions.
2) Read the water movement and the exit
- Pick a landing zone with space, no boats, no boards, no swimmers drifting through.
- Trace your exit route before you jump, where do you grab, where do you rest, what happens if you miss the ladder?
- On ocean cliffs, check sets and lulls, a calm minute can hide a bigger set.
3) Inspect the takeoff like it’s a trail hazard
- Look for stable footing, flat rock, good grip, no crumbling edges.
- Identify a clean forward path, no overhang that could cause head strike on the way down.
- Decide your “abort line,” how close you’ll approach the edge before committing.
According to the U.S. National Park Service, visitors should follow posted warnings and recognize that natural hazards can change quickly; that logic applies even outside parks.
Practical jumping basics that reduce injury risk
This section does not turn cliff jumping into a “safe sport,” it just removes common unforced errors. If you want coaching on advanced entries, a local guided outfit is usually a better path.
Entry choice: keep it simple
- Feet-first, vertical entry is typically the least complicated for most travelers.
- Avoid flips and “tricks” in unfamiliar spots, rotation errors happen fast and consequences are serious.
- Do not dive head-first, unknown depth plus head/neck impact risk is a bad trade.
Body position reminders
- Arms close, legs together, core tight, eyes forward.
- Commit to the landing line, stepping sideways or hesitating mid-takeoff can shift you toward rocks.
- Surface calmly, orient, then swim out, don’t thrash if you feel disoriented.
Buddy system that actually works
- One person jumps, one person watches only (not filming), ready to help.
- Agree on a simple signal, “OK” hand up after surfacing, and a time limit before assistance.
- If nobody can focus on safety, skip it.
Gear and prep: what matters, what’s optional
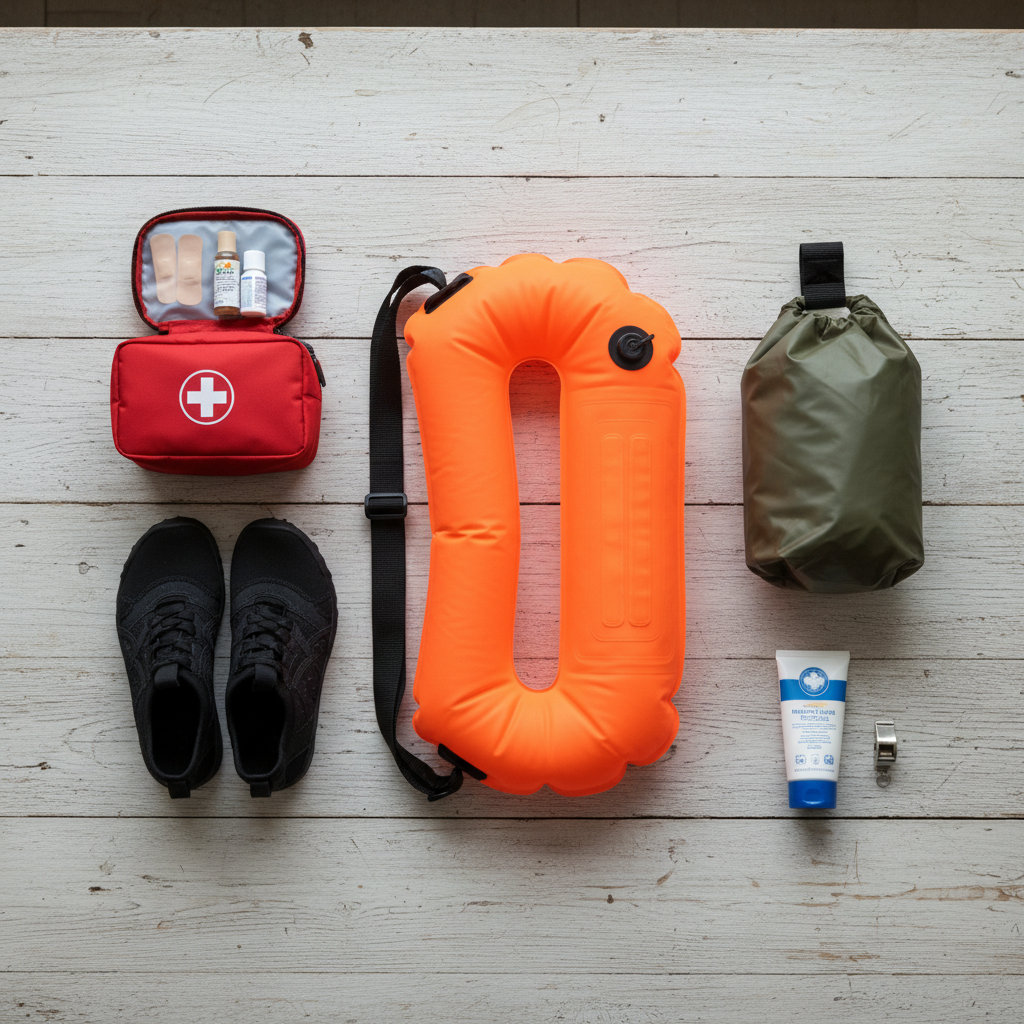
Most cliff jumping injuries are not solved by buying stuff, but a few items reduce avoidable problems, especially for tourists who arrive in casual footwear and no plan.
| Item | Why it helps | When it’s worth bringing |
|---|---|---|
| Water shoes with grip | Better traction on wet rock, fewer slips at takeoff/exit | Rocky coasts, algae-covered lakes, river ledges |
| Bright swim buoy (tow float) | Visibility for boats and a rest aid | Busy lakes, long swim-outs, low-contrast water |
| Basic first-aid kit | Handles cuts and scrapes from rocks | Remote spots, no lifeguards nearby |
| Dry bag | Protects phone, ID, car key, reduces panic about valuables | Any open-water spot with swimming exit |
For health and safety, consider your personal risk factors too, prior shoulder dislocations, ear issues, or recent concussion symptoms can make water impact and disorientation more dangerous. If you are unsure, it’s reasonable to consult a clinician before a trip that includes high-impact water activities.
Step-by-step: a safer decision process on the day
If you’re standing at a cliff and your group is split, use a process instead of arguing feelings. It keeps things calm and prevents the “someone already climbed up” trap.
- Step 1: Check legality and signage. If it’s posted as prohibited or dangerous, treat that as a stop sign, not a suggestion.
- Step 2: Watch the water for five full minutes. Look for current patterns, wave sets, floating debris, and swimmers drifting off course.
- Step 3: Identify landing zone + exit route. Say it out loud so everyone agrees on where they will surface and where they will exit.
- Step 4: Decide personal limits. If you feel pressured, pause. A good group respects a no without a debate.
- Step 5: Start smaller or don’t start. If there’s a lower entry, begin there, if not, it’s fine to skip.
- Step 6: One jump at a time. Keep the landing zone clear, confirm the previous jumper is out of the way.
Cliff jumping travel safety often comes down to skipping the “one last jump” when you’re cold, tired, or chasing a better video angle. That’s when sloppy takeoffs show up.
Common mistakes travelers make (and what to do instead)
- Mistake: trusting social media coordinates. Do instead: treat online spots as leads, then verify locally in person.
- Mistake: jumping in low light. Do instead: only consider daylight with clear visibility, sunset makes depth and hazards harder to read.
- Mistake: mixing alcohol with jumps. Do instead: keep alcohol for after, impaired balance and delayed reaction time matter on cliffs.
- Mistake: assuming athleticism equals safety. Do instead: respect that water impact is different from gym strength.
- Mistake: ignoring tides or river releases. Do instead: ask locals about tide windows, and in rivers near dams, research water release schedules when possible.
When to get professional help or skip entirely
There’s no shame in making this a guided activity, especially abroad or in areas with complex surf. Many destinations have canyoning or coastal adventure guides who understand local hazards and emergency response.
- You can’t verify depth or underwater obstacles with confidence.
- Conditions change fast, surf zones, tidal inlets, swift rivers.
- Someone in your group has a medical condition, recent injury, or anxiety that could trigger panic in open water.
- You’re far from cell service, roads, or any realistic rescue access.
If someone hits their head, has neck/back pain, loses consciousness even briefly, or shows confusion after impact, treat it as urgent and seek medical evaluation immediately. In the U.S., calling 911 is appropriate in emergencies, and abroad you should use local emergency numbers and follow on-site staff guidance.
Key takeaways to remember on your trip
- Spot assessment beats bravery. If you can’t explain depth, landing, and exit, you’re guessing.
- Feet-first and simple usually lowers risk for casual travelers.
- Pressure is a hazard. If you feel rushed, pause or walk away.
- Conditions change with tides, weather, and crowds, yesterday’s safe jump can be today’s bad idea.
Cliff jumping can be a memorable travel moment, but it should never be the moment you “hope it works out.” Pick spots you can actually evaluate, set personal limits early, and protect your trip from turning into a rescue story.
FAQ
Is cliff jumping legal at most tourist beaches and lakes?
It varies by location. Some places allow it informally, others ban it due to rescues, injuries, or environmental damage. If you see posted signs or staff warnings, assume enforcement is possible and choose another activity.
How high is “too high” for a beginner?
Height alone is not a reliable guide because water conditions and landing depth matter so much. Many beginners get hurt from relatively modest heights due to poor footing or bad entry, if you cannot start small, it’s often smarter to skip.
What’s the safest way to enter the water when cliff jumping?
In many situations, a controlled feet-first entry with a vertical body line reduces the chance of head/neck impact. Diving head-first or attempting flips adds complexity that tourists usually don’t need.
How can I tell if the water is deep enough?
The most practical answer is local confirmation plus observation, and even then conditions can change. If depth cannot be verified, treat it as unknown and do not jump.
Do water shoes really make a difference?
Often, yes, not for the jump itself, but for traction on wet rock and for getting out without slipping. They are not magic protection, but they help with a very common failure point.
What should I do if a friend gets hurt after a jump?
Keep them still if you suspect head, neck, or back injury, and get emergency help quickly. If it’s a minor cut, control bleeding and watch for dizziness, confusion, or worsening pain, when in doubt, get evaluated by a professional.
Are guided cliff jumping or canyoning tours safer?
They can be, because guides often know entry points, depth changes, and exit routes, and they usually carry safety equipment. Still, you should ask what training they have, what the group size is, and how they handle emergencies.
If you’re planning a trip that includes cliff jumps, swims, or coastal adventure days, a simple pre-trip safety plan saves a lot of stress, packing grippy footwear, checking local rules, and choosing spots you can actually evaluate on arrival usually makes the whole experience feel more confident and less chaotic.